

Choosing the Right Approach for Your Damage
Not all drywall damage calls for the same fix. Before reaching for a trowel, take a moment to assess the size and type of damage - this single step saves wasted effort and ensures a lasting result.
- Nail holes and small dents (under ½ inch): A single application of lightweight spackling compound, smoothed flush and sanded when dry, is all that's needed.
- Medium holes (½ inch to 4 inches): These need either a self-adhesive mesh patch or a California patch made from drywall scraps, then two or three coats of joint compound.
- Large holes (4 inches and up): Require a backing board or wood cleat inserted into the wall cavity, a cut-to-fit drywall piece screwed in place, and then full taping and mudding.
Water-damaged drywall is a separate category. If the damage is soft, crumbling, or shows mold, the affected section must be fully cut out and replaced - and the moisture source addressed before patching. If you suspect mold growth behind walls, consult a qualified professional before proceeding.
Humidity Slows Drying Significantly
Joint compound dry times listed on packaging assume moderate indoor humidity. In humid climates or during summer months, allow extra time - or run a fan and dehumidifier to speed the process. Painting over compound that isn't fully dry leads to cracking and bubbling.
Once your repair is complete and primed, your wall is ready for paint. See our guide to interior wall preparation for how to get a finish that lasts.
What You'll Need
Gather your materials before you start. Stopping mid-repair to run to a hardware store often means a dried-out patch and a rough restart.
Putty knife or drywall knife (6-inch)
Applies and spreads joint compound smoothly across the patch.
Self-adhesive mesh patch or drywall scrap
Provides backing and structure for holes too large to fill with compound alone.
All-purpose joint compound
Fills, bonds, and creates a smooth surface over the patch and tape.
Drywall tape (paper or fiberglass mesh)
Reinforces seams and edges so compound doesn't crack over time.
120-grit and 220-grit sandpaper
Smooths compound between coats and achieves a fine finish before priming.
Drywall primer (PVA primer)
Seals the repaired area so paint adheres evenly without flashing.
Dust mask (N95) and safety glasses
Protects against fine drywall dust during sanding.
Wider taping knife (10-inch)
Helps feather joint compound over a larger area for a seamless blend.
What you will need
Step-by-Step: Patching the Wall
The steps below cover medium-to-large repairs - the most common scenario where homeowners run into trouble. For very small holes, skip to Step 4 after applying spackling directly.
Cut away damaged material cleanly
For holes larger than 4 inches, use a drywall saw to cut a clean rectangle around the damaged area, cutting to the nearest studs on either side. Clean cuts are easier to patch than jagged tears. For medium holes, trim away any loose paper or crumbling gypsum so the edges are stable.
Install backing support for larger holes
For holes between 4 and 8 inches that don't reach a stud, cut two pieces of scrap lumber (1×3 or 1×4) slightly longer than the hole's height. Insert them into the opening and drive drywall screws through the existing drywall into the backing boards on each side. This creates a solid surface for the patch piece to attach to.
Cut and attach the patch piece
Cut a piece of drywall to fit the opening precisely. Attach it to the backing boards or studs with drywall screws spaced every 6-8 inches. Drive screws just below the surface of the drywall paper without breaking through it - this dimple will be filled with compound. For medium holes, apply a self-adhesive mesh patch directly over the hole.
Apply the first coat of joint compound
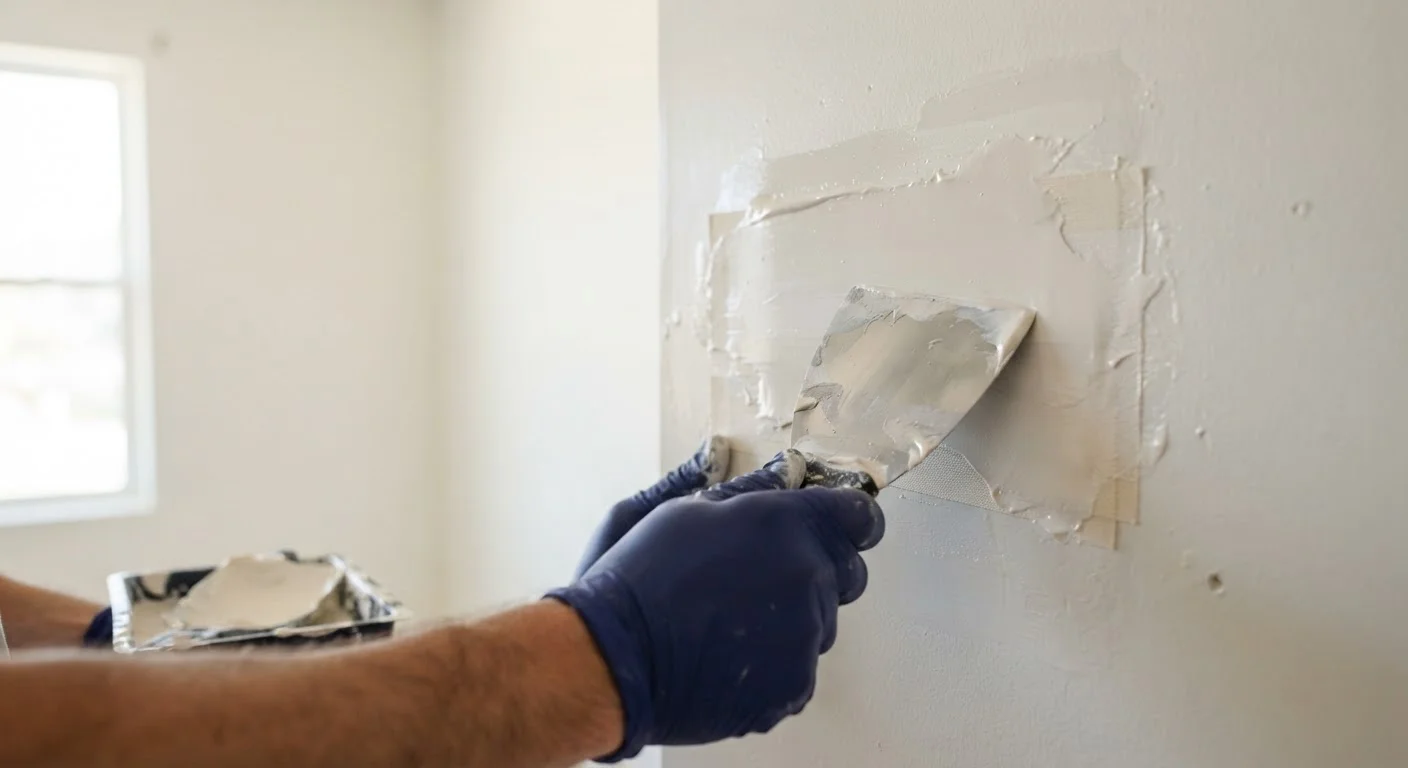
Using a 6-inch putty knife, spread a thin, even coat of all-purpose joint compound over the patch, mesh, screw dimples, and any seams. Embed paper tape into seams by pressing it into wet compound and smoothing it flat. Feather the edges outward - extending at least 2-3 inches beyond the patch boundary. Let dry completely (typically 24 hours, depending on humidity).
Sand lightly and apply second coat
Once fully dry, sand the first coat lightly with 120-grit sandpaper. Remove dust with a damp cloth and let the surface dry. Apply a second, wider coat of compound with a 6- or 10-inch knife, feathering 4-6 inches beyond the patch. Allow to dry fully before assessing whether a third thin coat is needed to eliminate any remaining unevenness.
Final sand, prime, and prepare for paint
After the final coat has dried, sand progressively - start with 120-grit, finish with 220-grit - until the surface feels continuous with the surrounding wall. Wipe away all dust, then apply a coat of drywall primer. Allow the primer to dry fully before painting. Match paint sheen and color to the existing wall for the most invisible result.
Older Homes and Asbestos Risk
Homes built before approximately 1980 may contain asbestos in wall textures, joint compounds, or ceiling materials. If your home is from this era and you are unsure, do not sand or cut drywall materials until you have had the area tested by a certified inspector. Disturbing asbestos-containing materials without proper precautions is a serious health hazard.
Getting a Finish That Disappears
The patch is structural; the finish is visual. Most visible repairs fail not because of poor patching, but because of poor feathering or skipped primer.
When sanding between coats, use 120-grit sandpaper and work in a circular motion, blending the edges of the compound into the surrounding wall. The goal is a gradual transition - not a sharp boundary. Run your hand over the area; if you can feel an edge, it will show through paint.
Apply a coat of drywall primer (sometimes called PVA primer) over the fully dried, sanded compound before painting. Unpainted joint compound is highly absorbent and will cause paint to look flat or uneven - a phenomenon called flashing. Primer seals the surface and creates uniform porosity across the old wall and new patch. This step is non-negotiable if you want the repair to be invisible. The same principle applies broadly to any interior painting project - thorough prep determines the result, not just the paint itself.
Finishing drywall shares the same principle as many other DIY repairs: knowing when to stop and call a professional matters. For large-scale structural damage, repeated water intrusion, or any work near electrical panels or gas lines, contact a licensed contractor. For guidance on evaluating which home repairs are genuinely DIY-friendly versus when to hand off the work, the same logic applies as in knowing when a car repair is better left to a mechanic.
The content provided on our blog site traverses numerous categories, offering readers valuable and practical information. Readers can use the editorial team’s research and data to gain more insights into their topics of interest. However, they are requested not to treat the articles as conclusive. The website team cannot be held responsible for differences in data or inaccuracies found across other platforms. Please also note that the site might also miss out on various schemes and offers available that the readers may find more beneficial than the ones we cover.