

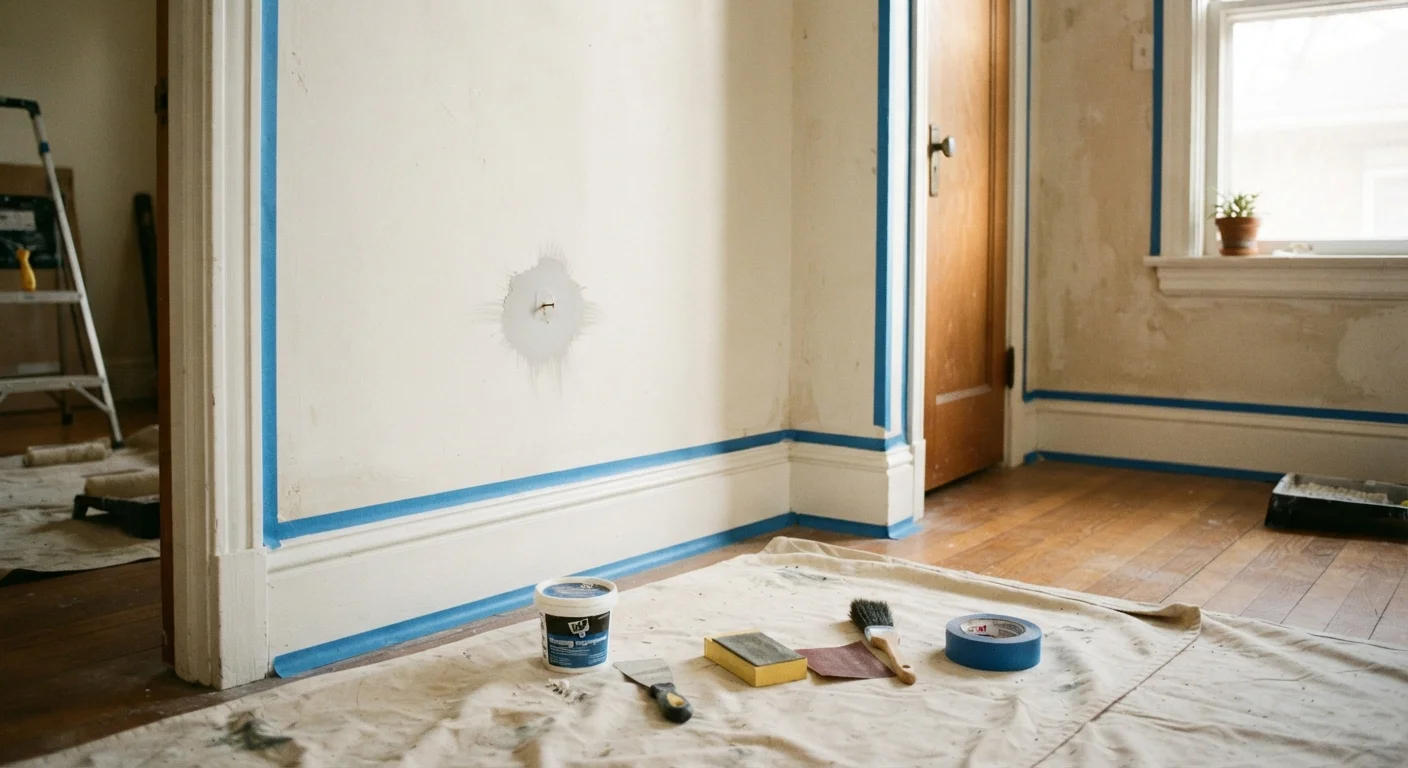
Why Prep Work Determines the Final Outcome
Most homeowners focus their attention on choosing the right paint color - and that matters, of course. But professional painters will tell you that the quality of any interior paint job is decided before the first drop of paint goes on the wall. Adhesion, coverage, smoothness, and longevity all depend on the condition of the surface you're painting, not just the quality of the paint itself.
Skipped steps - unfilled holes, dusty surfaces, unprimed patches - don't hide under paint. They become more visible once paint dries, especially in raking light from windows. Understanding what prep actually involves helps you plan your time realistically and avoid the frustration of a beautiful color applied over a flawed surface.
This kind of careful, methodical groundwork applies across renovation projects. If you're thinking beyond a single room, the principles outlined in our renovation project planning guide can help you build realistic timelines and avoid the most common scope pitfalls.
What you will need
Spackle or joint compound
Fills nail holes, small dents, and hairline cracks before sanding smooth.
Putty knife (3-6 inch)
Applies and feathers patching compound flat against the wall surface.
Sandpaper (120- and 220-grit) or sanding sponge
Smooths patched areas and lightly scuffs glossy surfaces for better paint adhesion.
Painter's tape (1.5 or 2 inch)
Masks trim, window frames, and ceiling edges to produce clean paint lines.
Drop cloths or plastic sheeting
Protects floors and fixtures from paint drips and sanding dust.
Primer
Seals repaired spots and ensures even color absorption across the full wall.
Tack cloth or damp microfiber cloth
Removes sanding dust from walls so it doesn't contaminate the finish coat.
Bright work light or handheld flashlight
Reveals surface imperfections (bumps, gouges, missed patches) that overhead lighting hides.
Step-by-Step: The Preparation Process
Follow each step in order - preparation tasks build on each other, and moving out of sequence (for example, taping before cleaning, or priming before patches are dry) creates compounding problems that are hard to correct mid-project.
Clear and protect the room
Move furniture to the center of the room or out entirely. Lay drop cloths over floors and any remaining pieces. Remove outlet covers, switch plates, and any wall fixtures - store the hardware in a labeled bag. A stripped-down room gives you unobstructed access to every wall edge and eliminates the risk of drips on surfaces you care about.
Inspect walls under raking light
Hold a bright work light or flashlight parallel (not perpendicular) to the wall surface and scan slowly from top to bottom. This raking-light technique reveals imperfections - bumps, gouges, old tape ridges, popped drywall screws - that flat overhead lighting completely hides. Mark each problem spot with a small piece of tape so you don't miss any during patching.
Patch holes, cracks, and imperfections
For nail holes and small dents, press a light-bodied spackle into the depression with a putty knife, overfilling slightly. Feather the edges flat. For cracks wider than a hairline, apply self-adhesive mesh tape first, then bed it in joint compound with a 6-inch knife. Let each coat dry fully - typically several hours - before adding the next. Most repairs need two thin coats, not one thick one.
Popped drywall screws should be driven back slightly below the surface, then the dimple filled. Do not simply spackle over a proud screw head; it will telegraph through paint within weeks.
Sand all patched areas smooth
Once patches are completely dry, sand them smooth with 120-grit sandpaper, then finish with 220-grit or a fine sanding sponge. The goal is a perfectly flush surface - run your palm across the patch; if you feel any ridge or bump, it will show under paint. Lightly scuff any existing glossy areas of the wall as well, since paint bonds poorly to a slick finish.
Clean the walls thoroughly
Sanding leaves dust on every surface, and any dust or grease on the wall will prevent paint from sticking properly. Wipe all walls with a lightly dampened microfiber cloth or a tack cloth, working from top to bottom. In kitchens or near cooking areas, a mild degreasing solution (dish soap and warm water, rinsed clean) is appropriate before this step. Allow walls to dry fully before moving on.
Apply painter's tape and protect trim
Run painter's tape along ceiling edges, baseboards, window casings, and door frames. Press the tape edge down firmly with a putty knife or your fingernail - a loose edge allows paint to bleed under it. Tape applied to textured trim should be pressed into the texture as consistently as possible. Remove tape while the finish coat is still slightly tacky (not fully cured) to get the cleanest edge.
Prime the wall
Apply a coat of primer to all patched areas at minimum. If you are making a significant color change (especially going lighter over a dark wall), prime the entire wall surface. Spot-primed patches absorb paint differently than the surrounding drywall, creating dull, flat spots - called flashing - in your final coat. A full prime coat prevents this. Allow primer to dry per the label before painting.
Don't Skip the Drying Time
Rushing between coats of patching compound, primer, or paint is the single most common cause of poor results. Wet material trapped under a subsequent layer causes bubbling, adhesion failure, and cracking. Always follow product label dry times, and add extra time in humid or cold conditions - both slow evaporation significantly.
Older Homes: Test for Lead Paint First
Homes built before 1978 may have lead-based paint on walls and trim. Sanding or disturbing lead paint creates hazardous dust. Purchase an inexpensive lead test kit from a hardware store before sanding, and consult your local health department or a certified renovation contractor if lead is detected. Do not sand lead paint without appropriate protective equipment and containment measures.
Prep Time Is Never Wasted Time
Professional painters commonly spend as much time on preparation as on actual painting - sometimes more. If your prep is thorough, the painting itself goes faster, covers more evenly, and the finish holds up significantly longer. Shortcuts in prep almost always mean redoing the work sooner than expected.
After Prep: What to Expect When You Start Painting
With proper preparation complete, the painting phase is straightforward. Use a roller with a nap thickness suited to your wall texture (thicker nap for textured walls, thinner for smooth), and apply paint in overlapping W or M patterns to avoid lap marks. Two thin coats will almost always look better than one heavy coat.
Remove painter's tape at the right moment - not after the paint has fully hardened. Pull the tape back at a 45-degree angle slowly and steadily. If any edges bleed slightly, a fine artist's brush with a steady hand corrects small imperfections cleanly.
The same attention to underlying condition that makes wall painting successful applies when evaluating finished surfaces in other contexts. Our article on materials, build, and finish explores how surface quality signals deeper craftsmanship - a useful lens whether you're inspecting your own work or a contractor's.
For anyone tackling a larger remodel that includes walls, our guide on bathroom remodels covers how painting and surface prep fit into a broader renovation sequence.
The content provided on our blog site traverses numerous categories, offering readers valuable and practical information. Readers can use the editorial team’s research and data to gain more insights into their topics of interest. However, they are requested not to treat the articles as conclusive. The website team cannot be held responsible for differences in data or inaccuracies found across other platforms. Please also note that the site might also miss out on various schemes and offers available that the readers may find more beneficial than the ones we cover.