

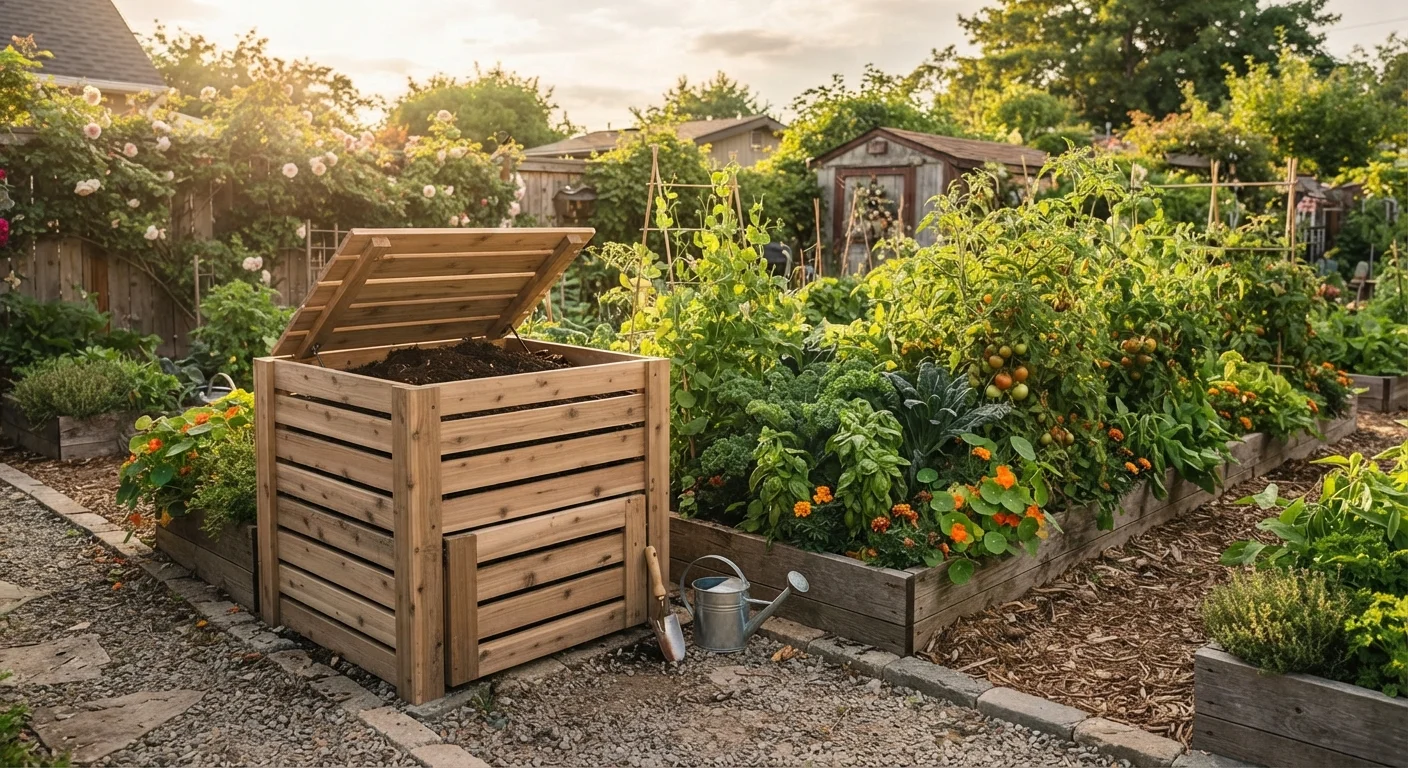
Why Most Compost Piles Get Abandoned
Composting has a reputation for being complicated, but the real reason most backyard setups fail isn't chemistry - it's placement and friction. A bin that's inconvenient to reach, too large to maintain, or poorly sited becomes a chore. One that fits naturally into daily movement becomes a habit.
Before choosing a bin or gathering materials, think through the logistics of your actual routine: Where do you walk every day? Where do your kitchen scraps currently end up? The answers tell you more about the right compost setup than any product specification.
Once your system is working, finished compost becomes a genuine resource. It's one of the most effective soil amendments available - learn more about how and when to use it alongside other inputs in our guide to soil amendments. And if you're planning where compost will ultimately go, our guide on raised beds vs. in-ground planting can help you decide how to design those spaces.
Build the Habit Before Perfecting the System
The single biggest reason composting stops is setup that's too complicated to maintain consistently. Start with the simplest possible bin, master the basics of layering and turning, and upgrade only once the routine is established. The same principle applies to any new habit - see how structure affects long-term follow-through in our guide to sustainable routines.
Setting Up and Maintaining Your System
Follow the steps below to set up a backyard composting system that produces usable compost and fits your real life. You'll need a modest set of tools and materials - most of which you likely already have.
Pitchfork or compost turner
Used to aerate and turn the pile, which speeds decomposition and prevents odor.
Compost bin or three-sided enclosure
Keeps material contained, retains heat, and deters large pests.
Garden hose or watering can
Used to moisten dry materials and maintain the right pile moisture level.
Thermometer (compost or soil type)
Lets you monitor internal pile temperature to confirm active decomposition.
Small kitchen countertop container with lid
Collects daily food scraps before transfer to the outdoor bin, reducing trips.
What you will need
Choose the right location
Select a spot that is level, has reasonable drainage, and is within easy reach of your kitchen door and garden beds - ideally no more than 30-40 feet from each. Proximity matters more than most people expect; a bin that requires a long walk in bad weather quickly gets ignored.
Partial shade is preferable to full sun, which dries a pile out rapidly. Avoid placing the bin directly against a wooden fence or structure; a gap of at least 12 inches allows airflow and prevents moisture damage.
Decide on bin size and style
For most households, a bin holding 3-5 cubic feet works well to start. Too small and it won't hold enough mass to heat up; too large and turning becomes a chore that discourages regular maintenance.
Options range from manufactured plastic bins to DIY wood-pallet enclosures. A single bin works for slow, cold composting. A two-bin system - one actively filling, one finishing - produces usable compost more consistently and suits gardeners who plan to apply it seasonally.
Layer your materials correctly
Start with a 4-6 inch base of coarse browns - wood chips, straw, or torn cardboard - directly on bare soil. This supports airflow from below and allows beneficial organisms to migrate up from the ground.
Build from there in alternating layers: roughly two parts carbon-rich browns (dry leaves, paper, cardboard) to one part nitrogen-rich greens (vegetable scraps, coffee grounds, fresh grass clippings). This ratio keeps the pile active without generating ammonia odor.
Manage moisture and aeration
The pile should feel like a wrung-out sponge - damp throughout but not dripping. Dry piles decompose slowly; waterlogged piles go anaerobic and smell foul. Check moisture weekly, especially after hot or dry spells, and add water or dry browns as needed.
Turn the pile every one to two weeks using a pitchfork to introduce oxygen. Move material from the outside edges into the center, where temperatures are highest. Consistent turning can cut decomposition time significantly compared to a pile left undisturbed.
Troubleshoot common problems
Pile smells bad: Usually too wet or too much nitrogen. Add dry browns and turn to introduce air.
Pile isn't heating up: Often too dry or too much carbon. Add greens, water lightly, and turn.
Pests are getting in: Check that food scraps are buried in the center of the pile rather than sitting on top. A bin with a solid base or hardware cloth lining deters rodents more effectively than an open heap.
Harvest and apply finished compost
Finished compost looks and smells like dark, crumbly earth. Most of the original materials should be unrecognizable. It typically takes two to six months depending on pile management, materials used, and climate.
Harvest from the bottom of the bin where material finishes first. Apply 1-3 inches to garden beds in spring or fall, working it lightly into the top few inches of soil. It improves structure in both sandy and clay-heavy soils and supplies a slow, steady release of nutrients.
What Not to Compost - It Matters
Never add diseased plant material, invasive weeds with seed heads, treated wood, or any product containing synthetic pesticides or herbicides - these can survive the composting process and contaminate your garden soil. When in doubt, leave it out and dispose of suspect material through your municipal yard waste program.
Siting Near Property Lines or Structures
Some municipalities and homeowner associations have rules about compost bin placement, particularly distance from property lines or neighboring residences. Check local ordinances before siting your bin permanently. A well-managed pile should produce little to no detectable odor, but neighbor proximity is still worth considering.
Composting pairs naturally with a broader approach to the backyard. If you're working toward a more productive outdoor space overall, starting a vegetable garden from scratch is a logical next step - finished compost gives new beds a strong foundation. For a broader look at making the whole yard work better for your household, see our backyard planning guide.
The content provided on our blog site traverses numerous categories, offering readers valuable and practical information. Readers can use the editorial team’s research and data to gain more insights into their topics of interest. However, they are requested not to treat the articles as conclusive. The website team cannot be held responsible for differences in data or inaccuracies found across other platforms. Please also note that the site might also miss out on various schemes and offers available that the readers may find more beneficial than the ones we cover.